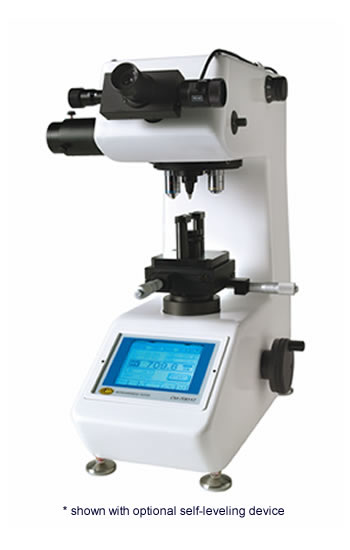
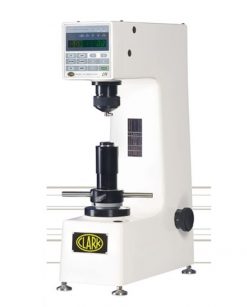
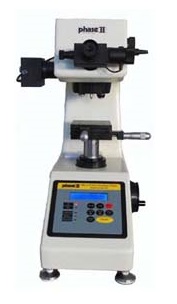
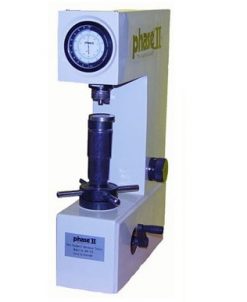
Clark CM-800 Vickers/Knoop Digital Hardness Tester Technical Specifications:
Test Load gf(N)
- Type A: 5 (49.03), 10 (98.07), 25 (245.2), 50 (490.3), 100 (980.7), 200 (1961), 300 (2942), 500 (4903), 1000 (9807), 2000 (19614)
- Type B: 1 (9.807), 3 (29.42), 5 (49.03), 10 (98.07), 25 (245.2), 50 (490.3), 100 (980.7), 200 (1961), 300 (2942), 500 (4903), 1000 (9807)
- Type C: 1 (9.807), 5 (49.03), 10 (98.07), 25 (245.2, 50 (490.3), 100 (980.7), 200 (1961), 300 (2942), 500 (4903), 1000 (9807), 2000 (19614)
- Type D: 1 (9.807), 5 (49.03), 10 (98.07), 25 (245.2), 50 (490.3), 100 (980.7), 300 (2942), 500 (4903), 1000 (9807), 2000 (19614)
- Type E: 1 (9.807), 5 (49.03), 10 (98.07), 25 (245.2), 50 (490.3), 100 (980.7), 300 (2942), 500 (4903), 1000 (9807
- Loading Mechanism: Auto-load and release method
- Applying Load Speed: 50µm/sec
- Turret Mechanism: Manual/Automatic
- Microscope Magnification Measurement: 500X (obj. 50X – eyepiece 10X)
- Observation: 100X (obj. 10X – eyepiece 10X)
- Accuracy Conforms to ASTM (E-384), ISO/DIS 6507-2, JIS B-7734/B-7725
- Photographic Devices Built-In optical path and can be mounted at any time
- Dimensions of X-Y Stage: 100 x 100mm
- Maximum Movement: 25mm in X & Y axis
- Minimum Micro Graduation: 1/100mm
- Maximum Height of Specimen: 3.75″ (95mm)
- Maximum Depth of Specimen: 4.5″ (115mm)
- Dimensions: Aprx. 186 x 450 x 504 mm
- Weight: Aprx. 85 Lbs.
- Power Supply: Single phase 115 VAC / AC 100~240V 50/60HZ
- CM-100/CM-100(AT) Mechanical, HV/HK, Touch Pad, Power / Loading
- CM-400/CM-400(AT) Electronic D1 / D2 / HV-HK / Hardness Value /Loading / OK-NG Criteria
- CM-800/CM-800(AT) Electronic LCD Touch Panel D1 / D2 / HV-HK / Hardness Value /Conversion Data / OK-NG Criteria


