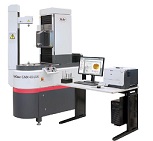
GMX 400 ZLW
Measuring Path X axis 200 mm / 8 in
Measuring Path Y axis 200 mm / 8 in
Measuring Path Z axis 650 mm / 25.6 in
Diameter Max.* 400 mm / 16 in
Length 1560 mm / 61.5 in
Width 600 mm / 24 in
Height 2147 mm / 85 in
Mass 750 kg
Max. Workpiece Weight 60 kg (80 kg on request)
Accuracy Accuracy class I for gear measurements in accordance with VDI/VDE 2612/2613 Group 1
at 20°C ± 2°C
Axial Run-Out Deviation (μm+μm/mm Measuring Radius) 0,11 μm + 0,0008 μm/mm
Radial Run-Out Deviation (μm in Table Height) ≤ 0,11 μm
* max. diameter of cylindrical gears
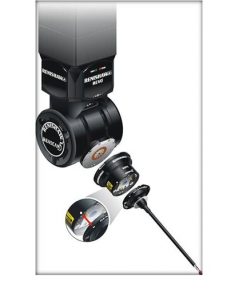
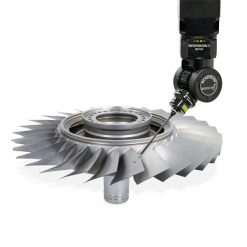
Mahr MarGear GMX 400 ZLW Universal Gear Measuring Center
Mahr MarGear GMX 400 ZLW Universal Gear Measuring Center Gear Diameter Max.* 400 mm / 16 in
Applications:
• Basic measuring station with AdvancedForm software
• Gear measuring station with QE Cylindrical Gear
Call or email for more information: [email protected] 866-945-5742
Read More
Mahr MarGear GMX 400 ZLW Universal Gear Measuring Center Features:
- Precise and fully automatic testing of gears and gear cutting tools up to an outer diameter of 400 mm
- Gear and form measurements carried out on a single measuring instrument
- MarWin offers a clear and simple method of creating complete programs in Teach In mode
- Improves programming efficiency and reduces the possibility of incorrect use
- GMX real time machine error correction
- Positions movements with the new MarEcon control unit
- Guarantees maximum speed and precision throughout entire measuring and movement sequence
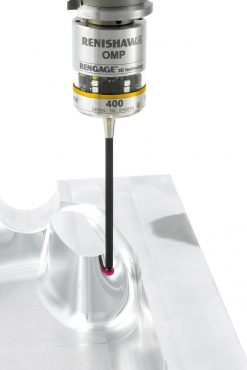
- High precision 3D scanning sensor combined with directly driven C axis for accuracy and efficiency
- 5 axis control unit
- Transmission shafts up to 700 mm can be clamped with the long
- tailstock option
- Inspection Features: Straight and Helical Toothed Cylindrical Gears, GDE Interface for Inner and Outer
Gears, Data Export to QS-STAT, Form and Position Measurements, 3D Geometries such as Distances,
Cone Angles, etc. - Accuracy: MarGear GMX 400 ZLW Gear Measuring Instrument, Accuracy Class 1, for Gear
Measurements in Accordance with VDI/VDE 2612/2613 Group 1 at 20°C ± 2 K (Rotational Axis in
Formtester Accuracy)
Accessories
• Active vibration damping system
• Revolving counter tip
• Data matrix scanner
• Chuck 70 mm
• Chuck 200 mm
• Drive pin set


