CMM Calibration Artifact
CMM Calibration Artifact
Our CMM Calibration Artifact is designed for use as an intermediate check with Coordinate Measuring Machines (CMMs) and includes an ISO-17025 accredited certification.
It is designed to provide added confidence in a CMM between annual calibrations. By performing an artifact calibration routine on a regular schedule, the accuracy of your CMM is monitored and allows you to be proactive if any “drift is discovered.
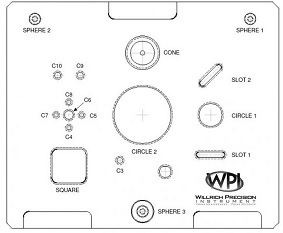
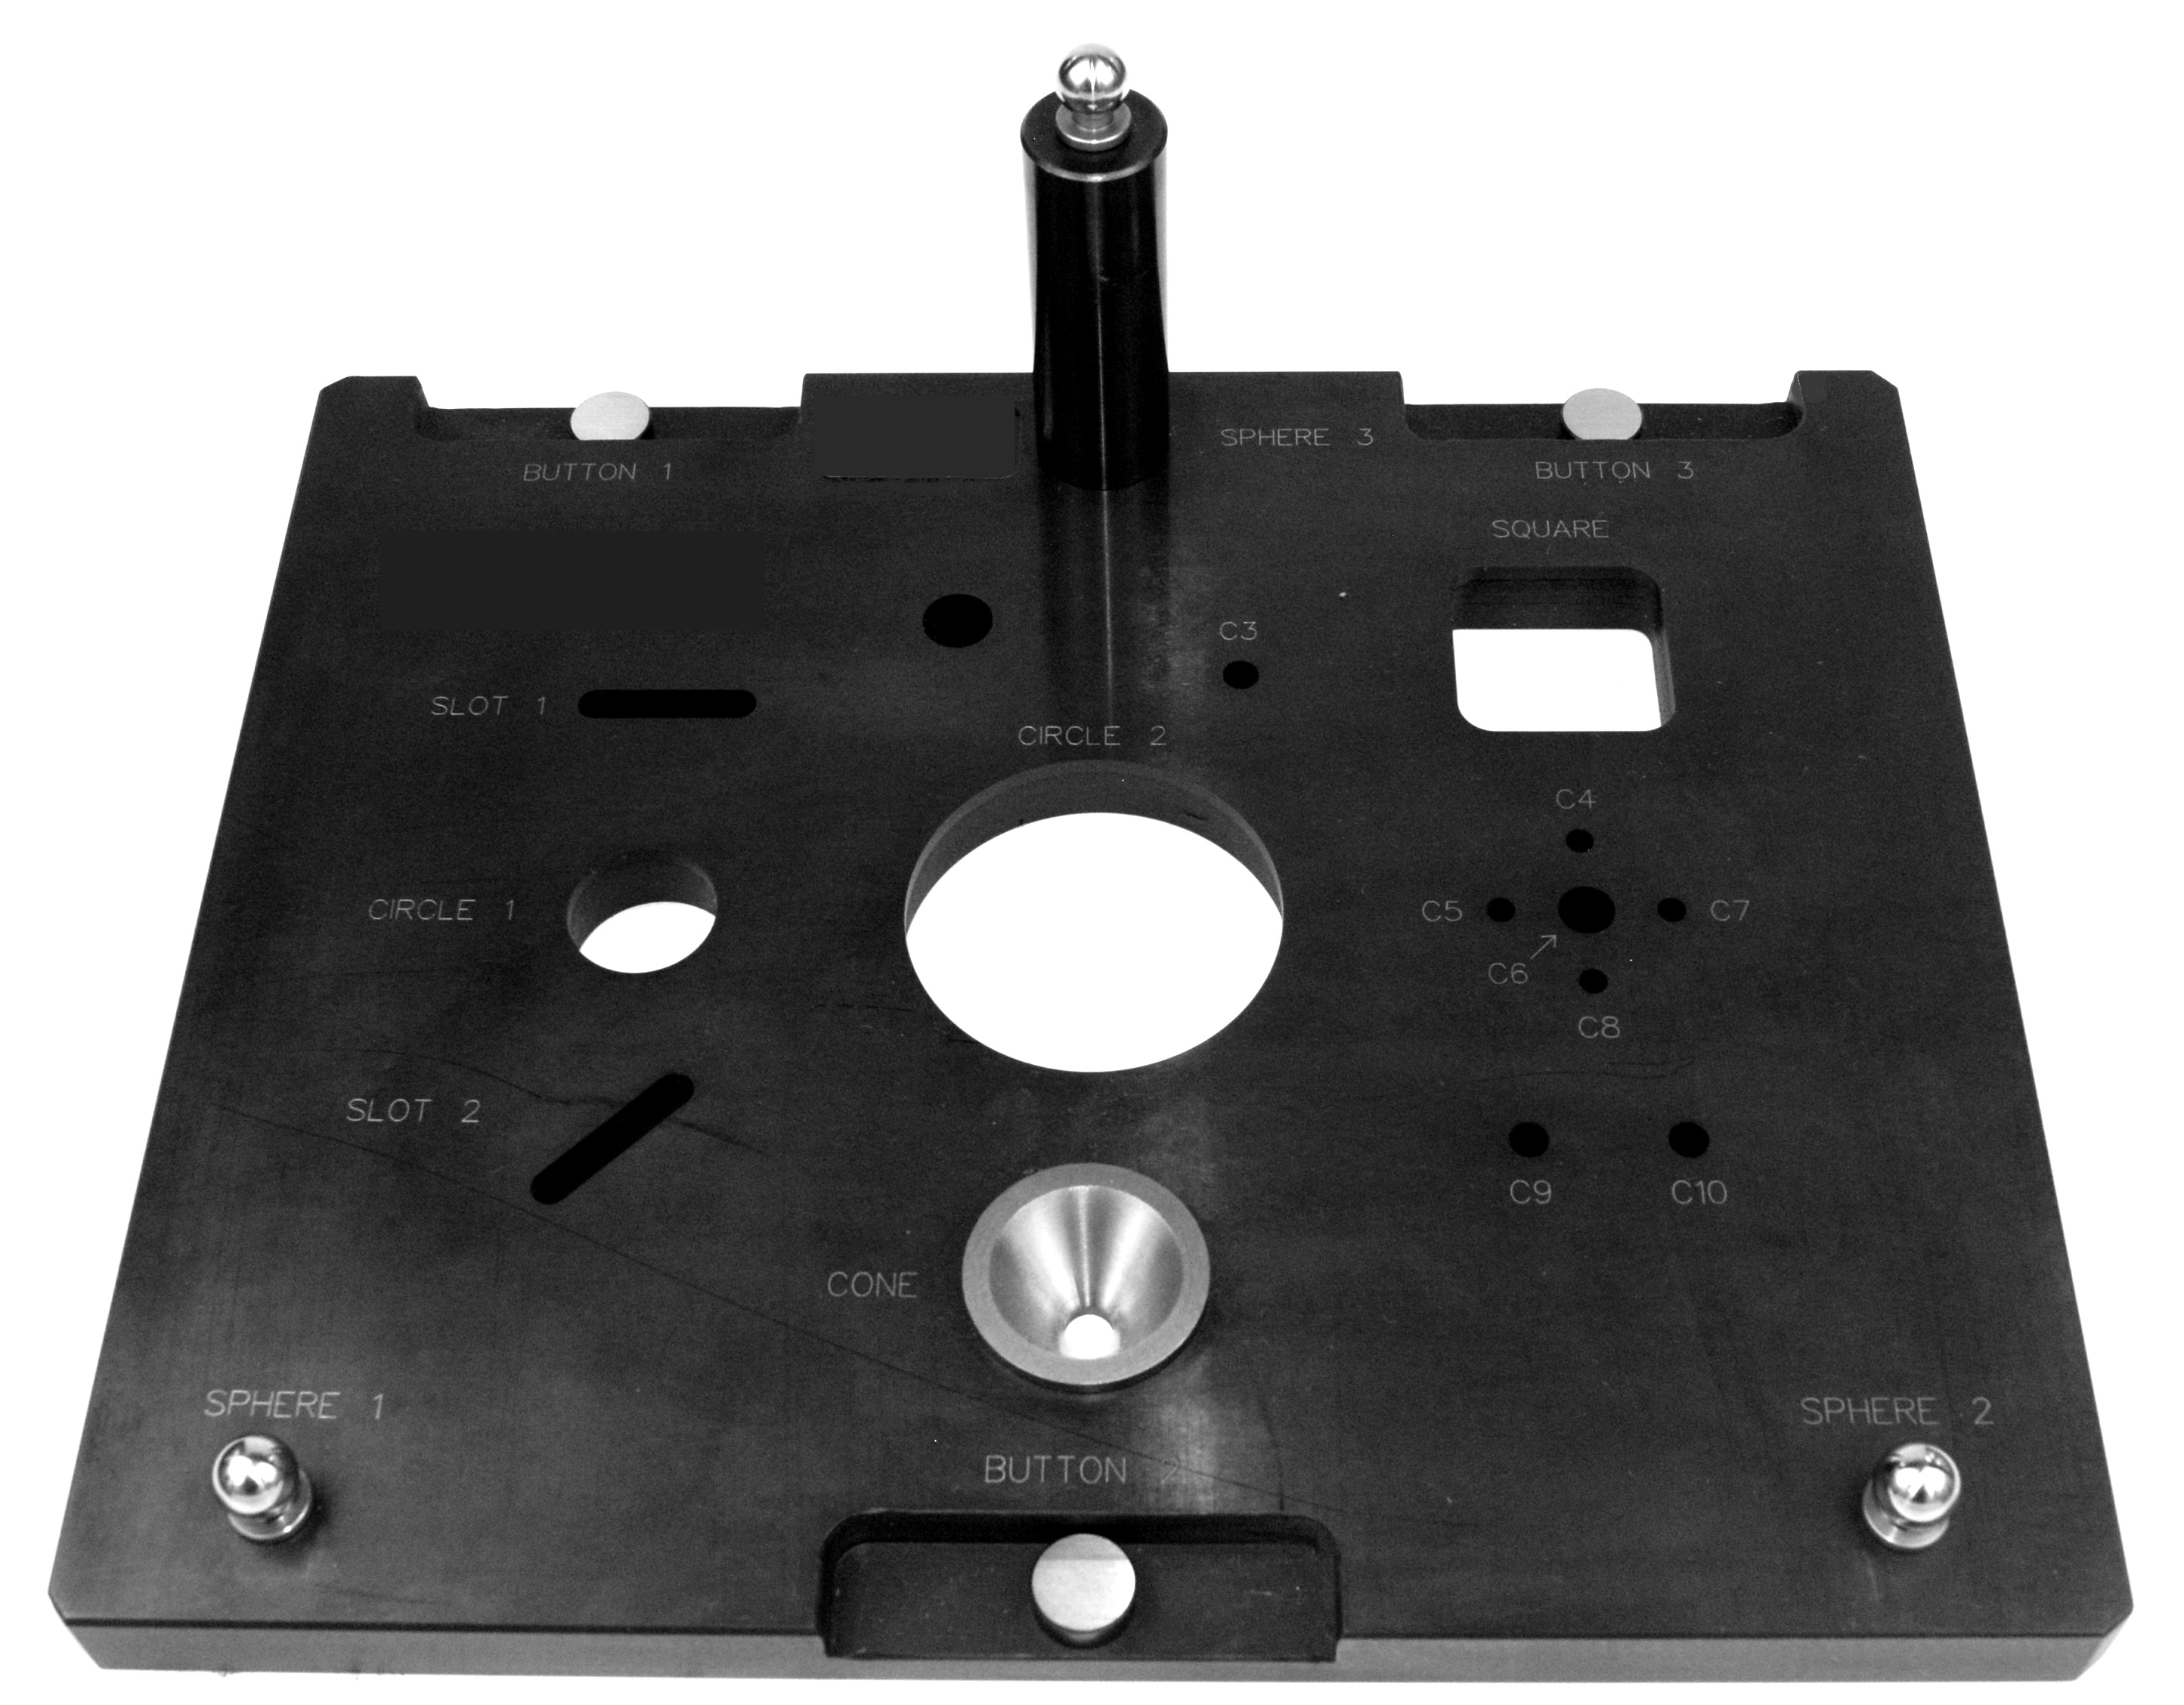
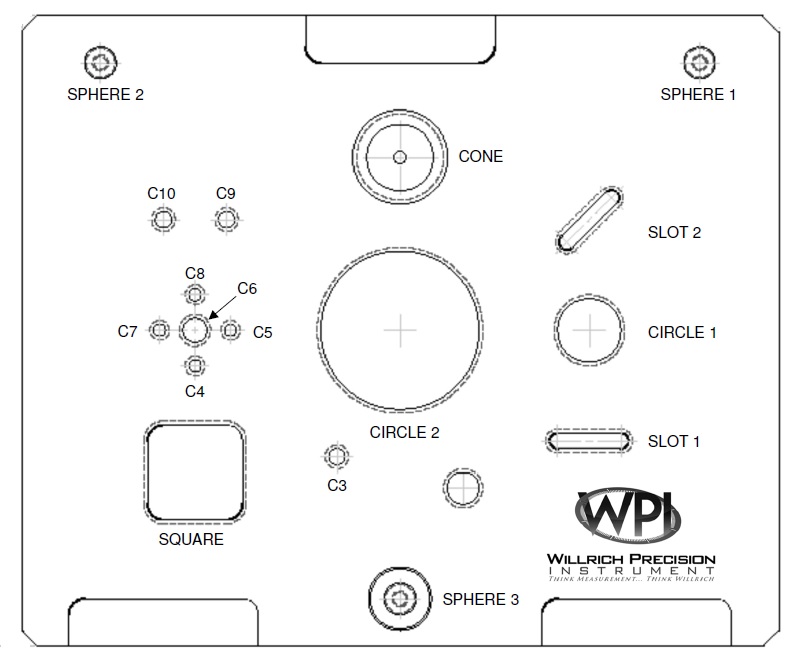
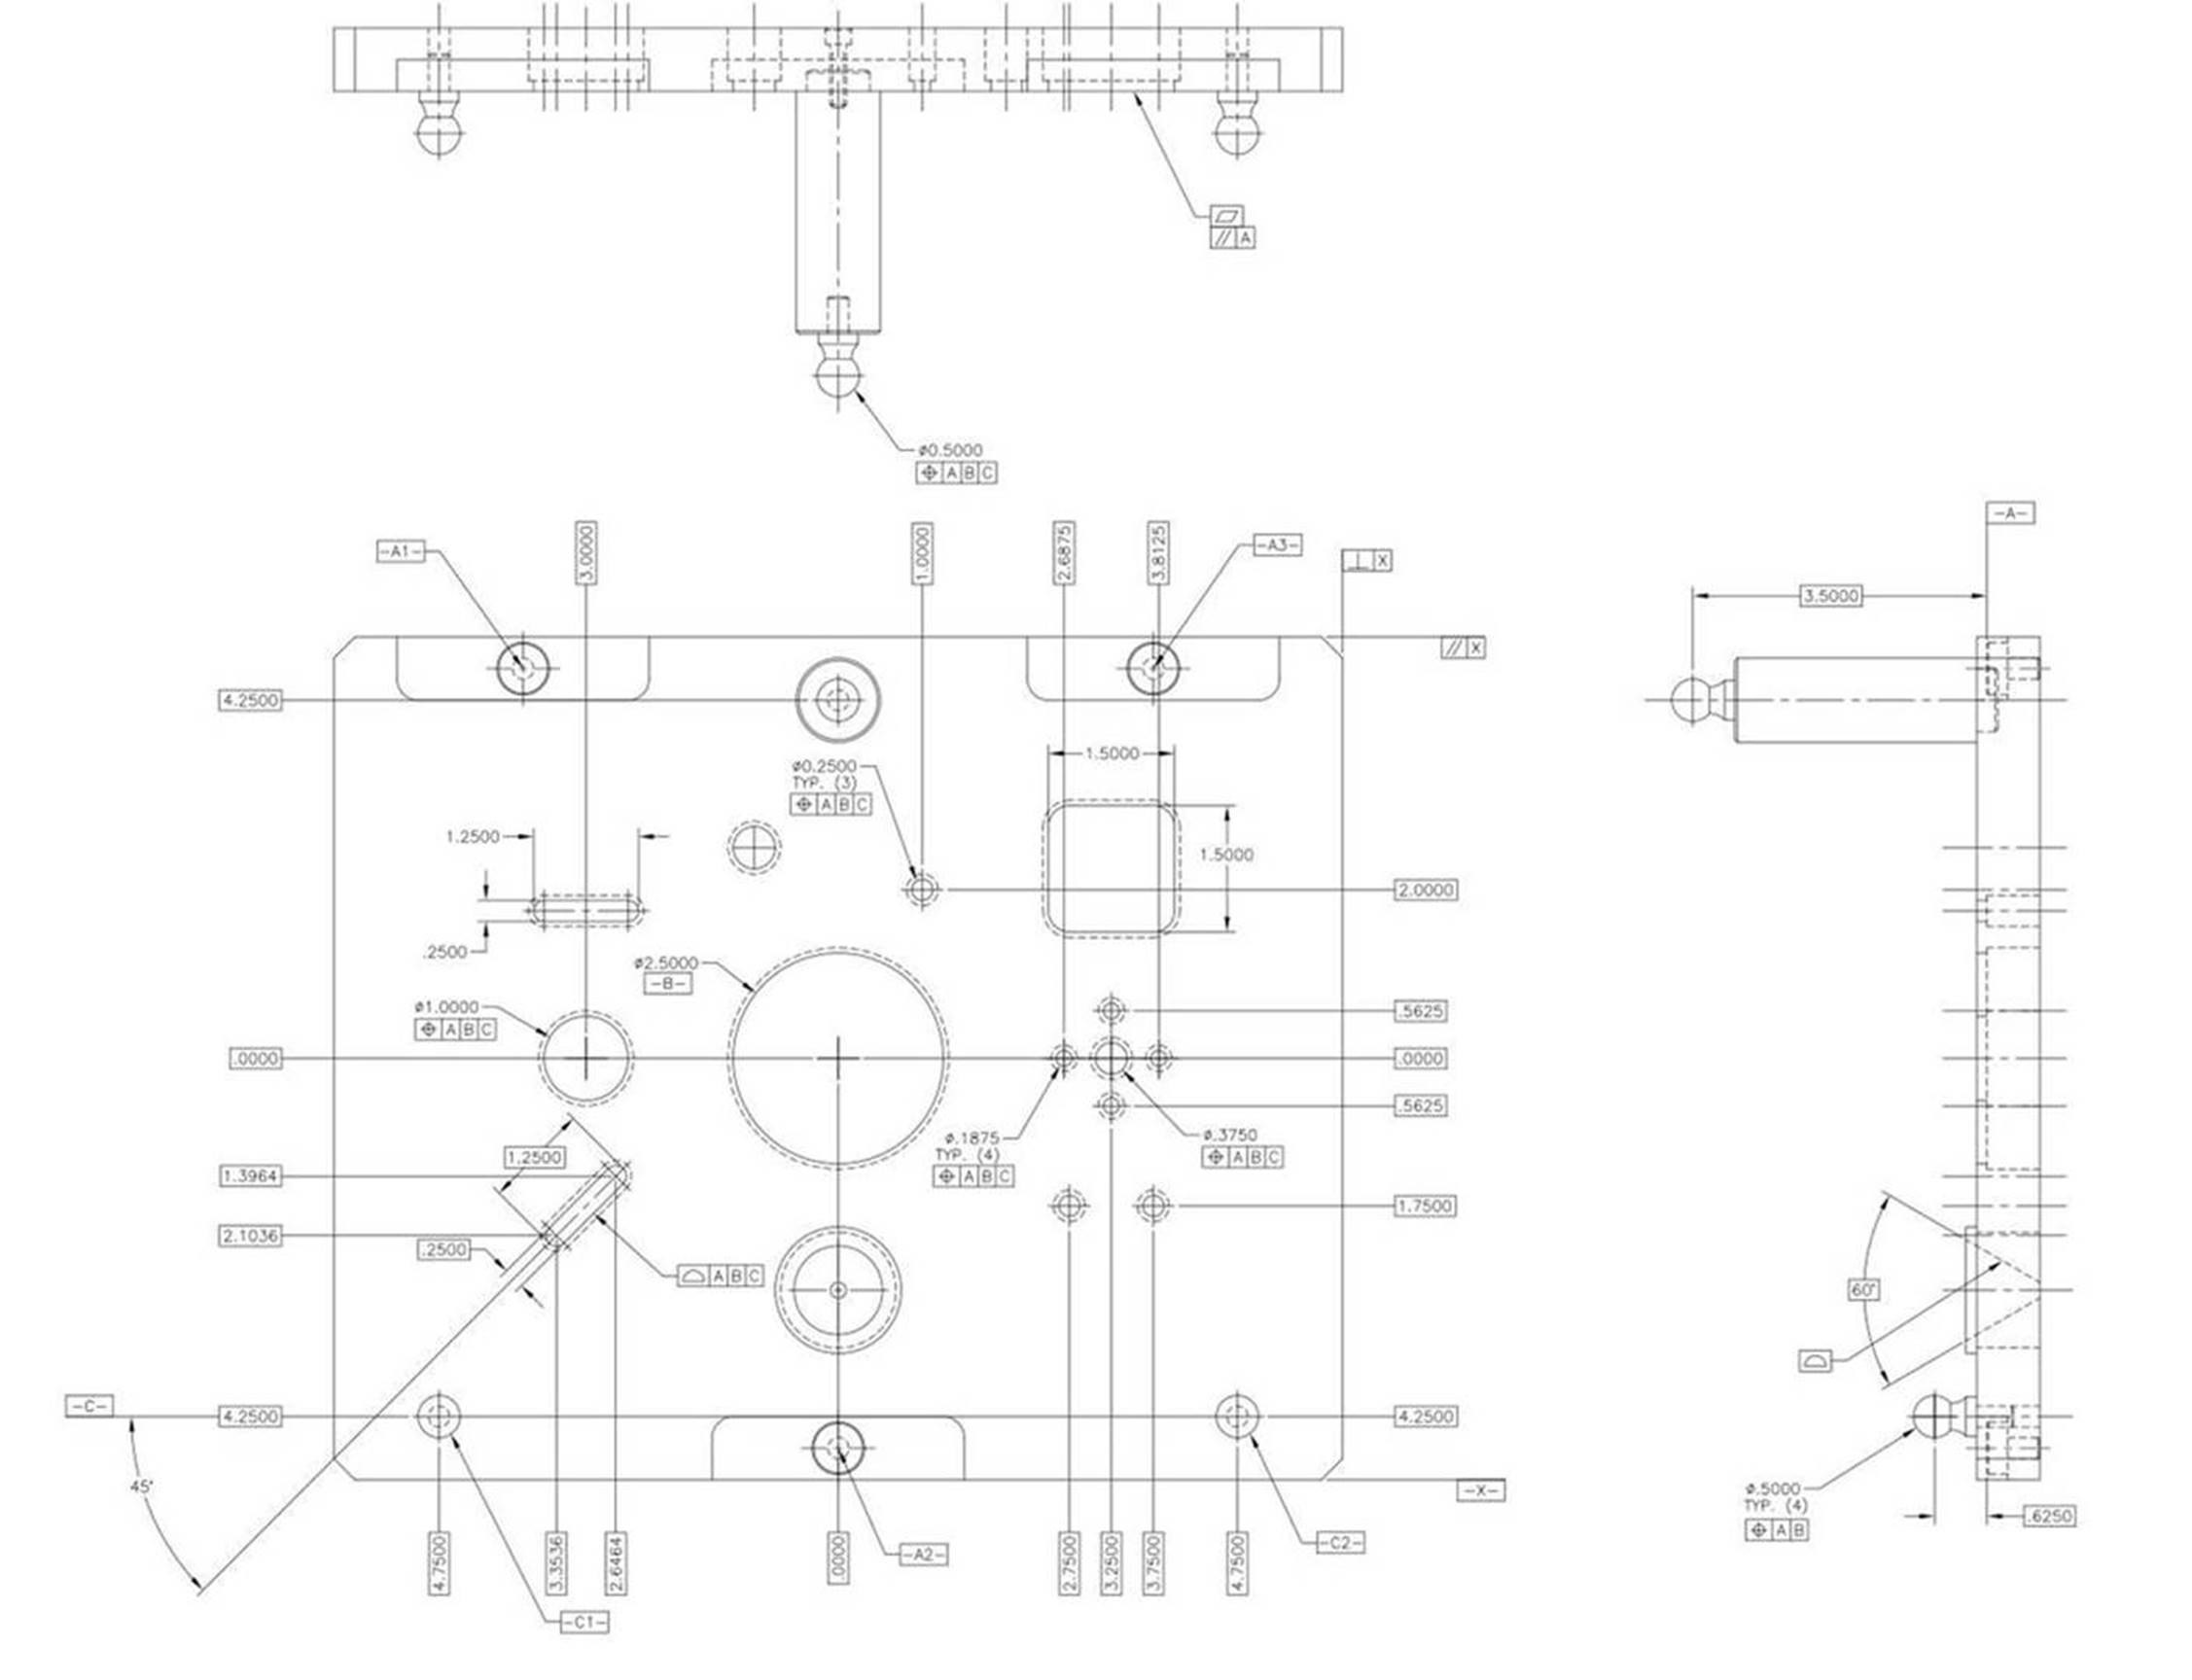
A variety of geometry types are included: circles, slots, widths, spheres, cone, etc.
Optionally, a CMM program in DMIS format is available for measuring the artifact. This ensures that the measurement routine is the same as the one used to certify the artifact.
Please call for price on the standard with the new GD&T included per below and MBD (Model based definition) model.
DMIS program as option (if you have DMIS Software on your CMM
Native CMM Programs option (Calypso, PCDMIS, MCOSMOS, etc.)
GD&T INCLUDED
- Perpendicularity
- Flatness
- True position
- Profile
- Perpendicularity
- Parallelism
Gen 1 CMM Artifacts have a variety of geometrical shapes to verify your CMM perfomance. Cicles, Slots,
Widths, Spheres, Cones, etc. GD&T includes Perpendicularity, Parralelism, Flatness, True Position,
Profile, Angularity,
Gen 2 has additonal features for higher level of analysis of CMM performance: Steps for Z, Roundness,
Cylindricity, Straightness, Runout, Angularity, Concentricity, and Radii.
All CMM Artifacts are made in USA and certified ISO 17025
- What is the accuracy of the features on the artifact? – The CMM Artifact is not made to a stated accuracy, The CMM Artifact is ISO 17025 certified on a coordinate measuring machine Our uncertainty for values on the report is approximately ±.00005” over 12”.
The actual measurements from the CMM Artifact from our certified coordinate measuring machine are reported. Our reported ACTUALS are for you to compare on your CMM - You get an artifact that allows you to track drift of machine in between calibrations. We certify this on a high accuracy scanning UISO 17025 lab CMM and provide inspection reports so you can watch your CMM potential drift in relation to our readings.
- Item is composed of the A-2 tool steel
- Step file is included in base price
Overall dimensions 10 x 12″
Call 866-945-5742 or email: [email protected] for more information.
Read More
There is a drawing shown with tolerances. However, we measure the final product on a highly accurate scanning CMM. Those recorded measurements are your "Golden Standard reference"
Click below for more information:
CMM Artifact Gen 2 formal drawing
• We would like to ask about how the CMM program would work for our needs, Calypso 2016. The available Calypso CMM program available for the artifact was created in a later version. It’s uncertain if it’s backwards compatible.
• What is the accuracy of the program you can provide? The program replicates on a point-by-point basis the nominal values used to certify the artifact before shipping.
• Can we get data for the physical artifact to compare with our results? The report provided with the artifact provides the actual measurement results for the artifact and can be used to compare to customer results.
What inspection methods were used to inspect and validate the CMM Artifact. The artifact is measured on a Mitutoyo Apex series CMM with a measurement uncertainty of (42µ+0.6L)µin
It should be noted that the artifact is intended to be used as an Intermediate Check to validate that the CMM used to measure it is functioning correctly between regular CMM Calibration intervals. It is NOT intended to be used to calibrate the CMM.


