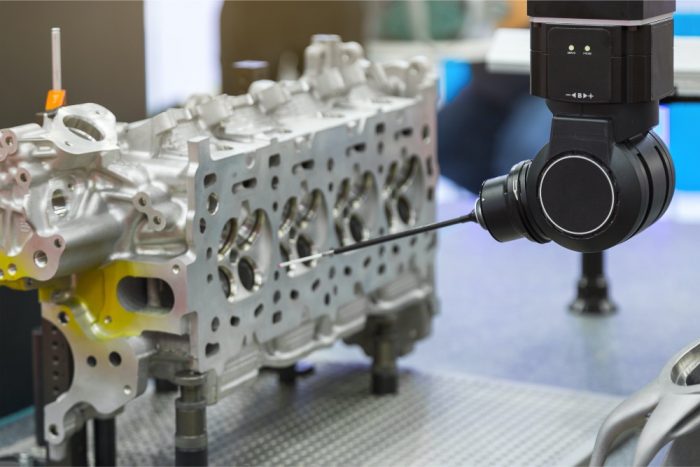
Oftentimes, you get confused about which measurement system can best be applied in an in-house lab. The answer is usually either a Vision System or a Coordinate Measuring Machine (CMM). The CMM style probing has grown in popularity in use for vision systems. This makes choosing which system to apply in your business less straightforward. The following post aims to explain some important factors that need to be considered in order to make your decision of which measuring equipment to use simpler. Some of the important factors to consider when deciding on coordinate measuring machines or vision systems include:
Size
Always have the size of your smallest feature in mind when choosing an inspection system. Vision systems are more accurate when dealing with smaller features of about 3-5mm. As for larger features, you need not worry about them since both coordinate measuring machines and Vision Systems can be used to handle them.
Variety
One of the key considerations to keep in mind when choosing a measuring system is the nature of the characteristics to be measured. You can equip your Vision systems with full probing, to make it a CMM for rapid coordinate metrology. By integrating the CMM with the Vision systems, a high speed, highly automated, 3D coordinate acquisition system can be developed. Its potential applications can be used in a broad spectrum of manufacturing problems with a big impact on inspection and metrology.
Speed
Vision Systems are less dependent on probe approach speeds and moving probes. This gives them the potential to move faster, 5-10 times faster than other measurement systems.
Number
For the longest time, Vision systems have been used in 2D measurements. The ability to use CMM and vision probing on the same machine as well as interchangeably makes Vision systems the go-to measurement system in most 2½-Dand 3D applications. Vision systems and the part 2D in nature, are the preferred choice of measurement system in the event that the main datums are visible on one view of your print.
From the above, it is safe to say that choosing which measurement system to use is not as black and white as some would think. A lot of key factors need to be put into consideration when deciding on which system to go for.
At Willrich Precision Instrument, our staff is ready to guide you in determining which system best suits your needs. We are ISO certified and have been in business for over 40 years, offering solutions pertaining to gaging, inspection and metrology. We work diligently to maintain customer satisfaction by providing expert assistance through our knowledgeable staff.
If you would like to discover more about our products and the services we offer, feel free to contact us today.


