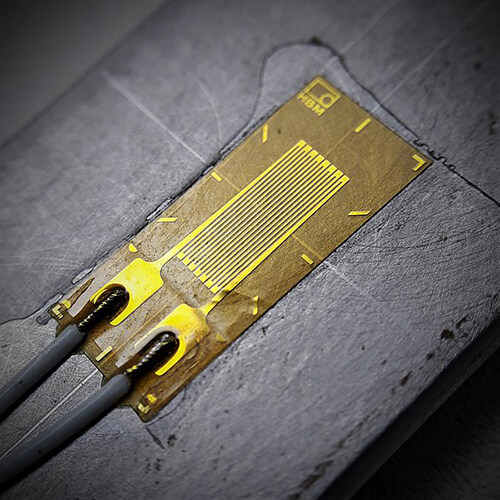
Strain measurement is capable of resolving one PPM (one part in a million) or more. This is because of the exacting controls and standards under which each strain gage is manufactured. Some of the principal measurement errors arise from the manner in which the strain gage sensor is installed and measurement is taken. Let us take a look at some of these.
Local Sources
At molecular level, strain is related to relative atom spacing. Stiffness of a strain gage is finite and it might locally strengthen the part to which it is connected. This is vital only for test materials such as plastics, which have low elastic moduli. If too much excitation voltage is applied, the strain gage can become unstable. As a consequence, some amount of uncertainty and error can be introduced at the beginning of the measurement process.
Strain Sensing Sources
In case the adhesive bond is defective, the strain in the test part may not be completely transferred to the gage’s grid. Similar thing happens when the gage is misoriented or mislocated on the test part.
Gage Resistance Sources
Effects other than strain may be the reason behind resistance changes in the grid. This happens when the temperature changes significantly. The thermal output characteristics of the gage get triggered, thus modifying the gage resistance. You can alter the gage resistance to a small extent, by the strain vertical to the gage axis.
Interface Sources
The 4th level in the measurement is the errors introduced in the circuitry between the instrument and the gage. The most commonly spotted error in strain measurement is signal reduction due to leadwires. Non-linear output of the Wheatstone bridge circuit causes an interfacial error in half and full bridge and quarter bridge circuits. Errors can also be produced at this stage, with thermocouple changes and effects in contact resistance at connections of the circuit. Moreover, noises from external magnetic or electrical sources may penetrate into the measurement system.
Instrument Sources
The fifth stage of the error occurs inside the instrument itself. Errors like these should be minor, with proper calibration of the instrument that is specifically designed for measuring strain gage. However, this is not applicable when the instrument is malfunctioning. The second condition would generally be evident from the anomalous calibration data or irregular behavior of the instrument.
Rectifying The Errors
It is quite clear from the above information that in order to obtain consistent measurement data, you must recognize all the potential sources of error at each individual stage of the process. You should properly judge whether a certain error is of high significance in any measurement you make. In order to suit the situation, it is essential to design the measurement system. This involves everything from choosing components to establishing procedures and incorporating corrections to rectifying it. All this is done to minimize or eliminate the errors to a tolerable uncertainty level in the measurement data.
The best way to overcome such erratic measurements is to attain the skill and knowledge required to use a gage.