General:
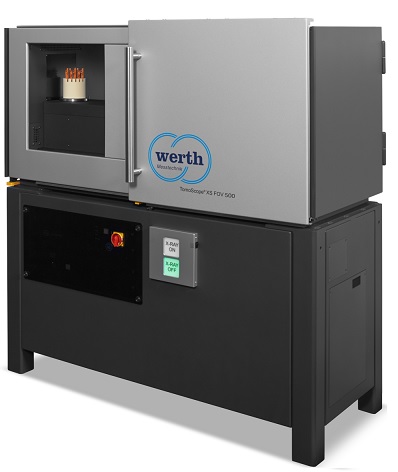
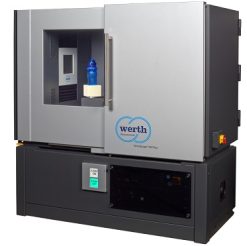
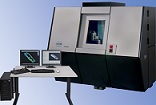
Machine type: coordinate measuring machine with CT device
Probing system: compact X-ray sensor Modes of operation: CNC control Measuring software: WinWerth® Operating system: MS Windows
Measuring Ranges:
Max. part dimensions for tomography***
– For “in the image“- measurements): from L = 93 mm (3.7“), Ø = 120 mm (4.7“) to L = 145 mm (5.7“), Ø = 192 mm (7.6“)
– With optional raster tomography: from L = 94 mm (3.7“), Ø = 201 mm (7.9“) to L = 112 mm (4.4“), Ø = 280 mm (11“)
Max. distance X-ray source – detector FDD = 500 mm (19.7“)
Dimensions and Masses:
Installation area (without instrument table):
Depth: 674 mm (26.5“)
Width: 1300 mm (51.2“)
Height: 1370 mm (53.9“)
Machine weight: 880 kg (1940 Ibs.)
Workpiece weight: 10 kg (22 Ibs.)
– For specified Error MPE: 2 kg (4.4 Ibs.)
Maximum Permissible Error MPE*
For advanced laboratory conditions
For CT Sensor1)
P: 5 μm
E: (5+L/75) μm
SD3): (4+L/100) μm
No air conditioning required
For CT Sensor2)
P: 7.5 μm
E: (7.5+L/50) μm
(Where L = measuring length in mm comparable to ISO 10360 and VDI/VDE 2617)
Additional Performance Data:
Resolution rotary axis: 0,36“
X-Ray Components:
– X-Ray Source:
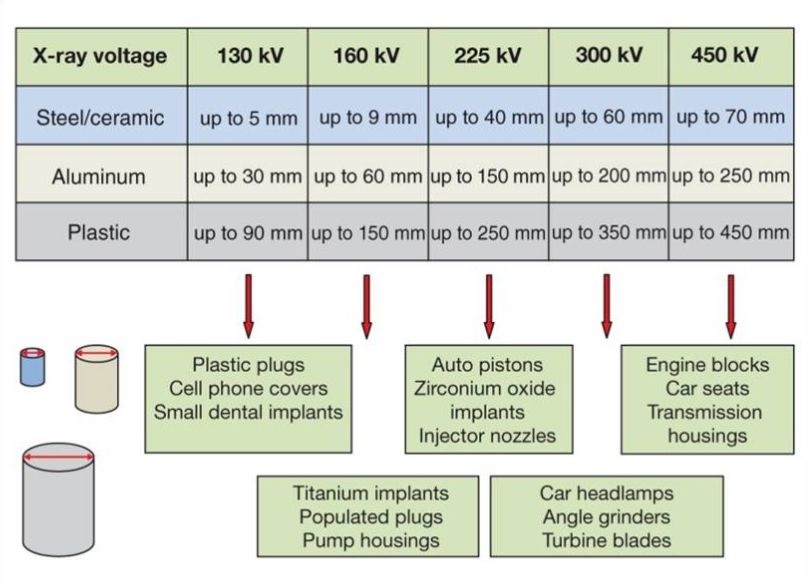
Macro focus monoblock tube: 160 kV / 500 W
– Detector:
– Surface area: from 140×110 mm2 to 287×223 mm2
– Number of pixels: from (2800×2200) pixel to (5800×4500) pixel
– Pixel center distance: 50 μm to 75 μm
Supply Data**:
Voltage measuring machine: 230 V (115 V) ±10%
Frequency: 50–60 Hz
Power: max. 2000 VA
Air pressure: 5.5–10 bar
Air consumption: 3000 Nl/h
Permissible Environmental
Conditions:
Environmental air: Humidity 40%–70% rel. hum., oil free
Air contamination: max. 0.05 mg/m3
Operating temperature: 10–35 °C (50–95 °F)


