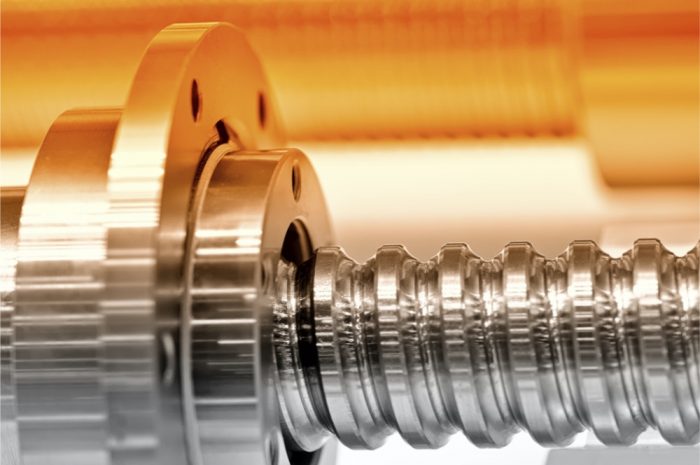
Thread inspection is described as a ridge of uniform sections in the form of a helix on the external or internal cylinder surface. External threads are found on studs, screws, or bolts, while internal threads are located on tapped holes and nuts.
A large number of machine parts that are fastened to each other are attached via threading. Accurately produced threads are critical for each thread to bear the load evenly. If the male or female threads have a manufacturing flaw, the load distribution will be uneven, meaning some threads will bear more weight than they should. This can be quite disastrous, thus the importance of thread inspection.
Thread Inspection Basics
If you join two parts via threading, the two types of threads are male and female, with the male screwing into the female. As mentioned above, the two types of threads are internal and external. In a nut and bolt example, the bolt is the male and the nut is the female. The nut has threads on the inside, meaning it is an internal thread, and the bolt has threads on the outside, which makes it an external thread.
For the nut and bolt to fit each other, they have to be machined to the same size. The external thread diameter must match the internal thread’s smallest diameter, the pitch of the thread must match, the thread quantity per given length must match, and much more.
The geometrical measurements needed to inspect a threaded component would be very labor and time-intensive and thus impractical. The solution to this is thread gaging.
Thread Gaging
Thread gaging is the process of inspecting threads, and there are two types of thread gauging:
- Thread Plugs: Thread pugs are plugs that have external threading, and they are used to measure internally threaded parts such as nuts.
- Thread Rings: Thread rings are the opposite of thread plugs. They are rings with internal threads and are used for measuring externally threaded parts such as bolts.
Thread plugs and rings are made from old gage steel, which is exceptionally resistant to wear.
Basics of Thread Gaging
All threads are considered as attribute gages, which mean they do not give any feedback on the exact dimensions. This differs from the measurements you would get from a caliper, which provides you with the precise measurements of whatever you are measuring.
Thread gages have what we call a Go/No-Go measurement. A threaded plug best explains an example of this measurement. For inspection of the internal thread, the ends of the plug are inserted into the threaded part. The plug’s Go-end should thread in, while the No-Go end should not. If the Go/No-Go test works, the component passes the inspection. If the Go-end part does not fit, then the threaded portion is too small, and vice versa. If the No-Go end fits, then the threaded part is too large.
A thread ring works based on the reversed version of a similar principle. The rings come in a set, and the Go ring is machined to a size smaller than the nominal while the No-Go ring is manufactured to be a little bigger than the nominal. In short, the Go ring is supposed to thread into the machined part while the No-Go ring is not supposed to do so. The Go/No-Go method of measurement is swift and very accurate.


