How Are Liquid-Filled Gages Usually Vented?
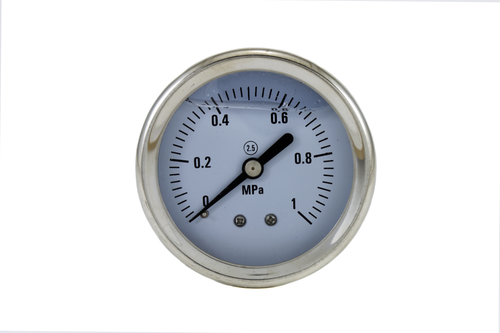
liquid filled gages

Liquid-filled gages are the most preferred choices for process environments requiring high physical stress because they are capable of protecting those environments from shock and vibration. Installing one requires a lot of careful though and consideration, on top of which, is making sure that the gauge is filled with the appropriate amount of liquid to be used for that particular application. Take note that silicone and glycerin should not be used when filling pressure gages where there are strong oxidizing agents. Additionally, venting these gages will relieve internal case pressure before use. The question is how are they usually vented?

Venting Should be Done after Installation

It is important to perform case venting right after the liquid-filled gage has been installed because this will maintain accuracy within which they should work, a gage that range between 300 psi and below. It will help achieve compound and vacuum ranges. There are instances when case venting must be done at periodic intervals giving regard to the particular process where they should be used.

More about Venting Liquid-Filled Gages

A liquid-filled gage is typically manufactured and shipped with the specific valve turned to the closed position. In order to vent the gage, you need to bring it to its open position. It is very easy to do this. You just have to turn the valve lever found on the device. You have to take note that some devices will no longer require bringing back the valve lever to its closed position provided the gauge has been installed uprightly, in which case, periodic venting is not required. In case the gauge has been mounted otherwise, periodic venting is required. Periodic venting will allow about a few drops of liquids to escape from the gage resulting from built-up pressure.

Temperature Variations may Affect Venting

Temperature variations can cause liquid to either contract or expand and may take place when shipping and when the liquid-filled gage has already been used in a process application. These can affect the pressure inside the gage and can reduce the device’s accuracy. You can note that the pointer may no longer point to zero up until the gage has been vented to match requirements in local atmospheric pressure.

The Initial Setup and How the Gage Must be Filled

There are custom gages and all other types of liquid gages that will require initial setup for venting. A ready-to-fill gage is initially setup by making sure that the filling plug is facing up. Using a flat-head screwdriver, remove the filling plug. Make sure that you do not damage the plug when doing so. The temperature of the liquid should not exceed 85ËšF or 29ËšC and must not be lower than 20ËšC or 68ËšF.

Fill the gage with the liquid using a plastic funnel and make sure you take time when doing so. There are thicker fluids which may take time to fill the gage or can also back up through the hole in the course of the filling process. Allow the liquid to settle at the gage’s bottom when this is the case before gradually filling in the gage. It may take a few times to level off the liquid in order to achieve its appropriate fill level.

by George Chitos