Tips For Unloading Your Coordinate Measuring Machines
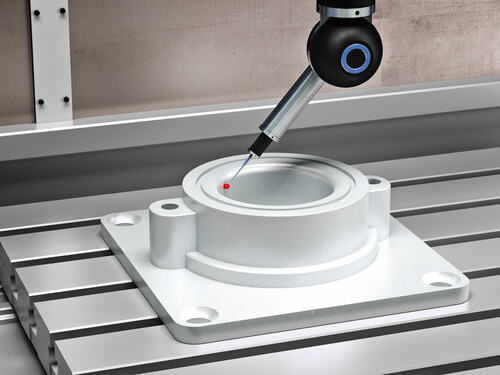
unloading coordinate measuring machines

Coordinate measuring machines, also known as CMMs, are crucial pieces of equipment in the world of parts inspection and quality control. These are commonly used in carrying out inspections in the metrology industry and are very much needed in both the production floor and metrology lab. Since these machines are very popular, they take up to much work load considering the fact that they are not the fastest moving machines within the lab. The good news is you can easily unload these machines so that you can speed up the manufacturing process. Here is what you should do.

Select which Measurements Should be Performed on a CMM

This fixed laboratory equipment requires moving any measured part to the lab which can take up some time. If you specifically select the measurements that should be performed on a CMM, you will be able to unload its work. You can decide which measurements can be allocated to alternative solutions that can work on certain applications.

Know Your Alternatives

Having said that there are alternative solutions that can help unload the CMM, it pays to know what these alternatives are. Your list of options includes:

  • Equipment for mass production using systematic control. This alternative solution will allow you to quickly sort good and bad parts accordingly. Any of those dubious parts can be brought to the CMM in order to make sure they have been inspected accordingly. Using this solution will save 80% of the CMM’s load.
  • Equipment for mass production using sampling control: This specific alternative solution takes charge of monitoring any possible drifts in order to anticipate adjustments and can likewise ensure that there will be a flawless detection of any random fault on the part. This leaves the CMM working on the most complex cases rather than working on everything else in the quality control process.
  • Also known as First Article Inspection, this alternative solution will unload the CMM by placing larger amounts of measurements on an alternative that is capable of inspecting parts while minimizing the amount of time spent when moving parts to the lab.

Try Metrology Equipment That Does Not Require Much Training

The CMM is a complex instrument which means it has to be handled only after one has been highly-trained in operating one. There are user-friendly tools like other precision management gages that can perform a specific part of the inspection at a particular stage of the manufacturing process without the need to rely on a CMM operator. Since these pieces of equipment are less complicated, they can be operated easily by anyone who has been trained to handle them thus effectively unloading the CMM of its work while increasing the number of measurements that can be performed by the alternative equipment.

Prioritize Inspection Using the Production Floor

In the world of quality control, there is such a thing as prioritizing measurements that the shop floor directly takes. This will allow more accessibility to the CMM whenever measurements really have through pass through the equipment. Do not waste time moving parts with large dimensions to the lab if you can actually use a portable metrology tool that allows measuring parts using the shop floor.

Perform Inspections at Intermediates Steps

Various issues such us distortion, tooling quality, shrinkage, and part thickness are left on the hands of the CMM. These require a lot of back and forth movement in the manufacturing process and can delay the entire production. Inspecting at intermediate steps will definitely unload the CMM and make quality control operators lessen their load as well.

by George Chitos