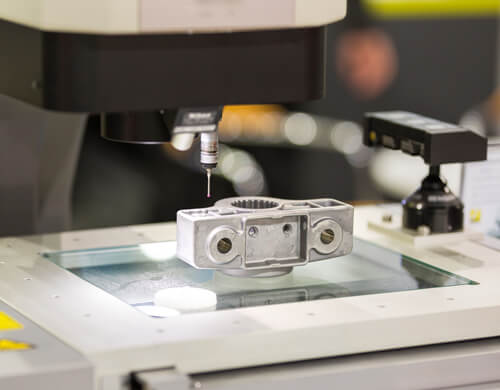
A quick glance at a finished surface will make you think it looks perfect. However, imperfections are bound to be there, and they may come in the form of valleys and hills, varying in both spacing and height. Roughness as that is called, exists in the form of a succession of minute irregularities. This may be caused by its own finishing process, such as the utilization of a single point tool. Surface roughness tends to be both directional and uniformly spaced. If surface roughness was a result of cylindrical or straight grinding, the roughness of the surface tends to be irregularly spaced.
Surface metrology refers to the measurement of minute features on surfaces. Some of the key parameters of this branch of metrology are surface roughness, surface fractality, and surface primary form. Speaking of such parameters, many individuals are often perplexed by roughness parameters such as Rzmax and Ramax. These parameters typically appear on drawings but seldom on measuring systems. So, what’s with the “max?” Let’s find out more!
“Max” and “Maximum” are Not the Same Thing
Yes, you heard that correctly. Don’t be surprised to know that “max” shares no link “maximum” or an upper limit. That extension is typically utilized to invoke what is called the “max rule.” This rule is designed to deactivate the 16% ISO default rule. When you place “max” at the end of a certain parameter’s name, it shows that you trying to say that no single trace on this surface is allowed to exceed its tolerance limit. Next, all measurements of the “Ra” parameter lie between the lower limit and upper limit micrometers. “Ra” is often used for reporting measuring systems. “Max,” on the other hand, is used to judge whether the part is good or bad.
I am Confused About “Limits”
When using surface texture measurements to determine if a certain workpiece is good or bad, ISO 4288 provides a set of decision rules to follow. The default rule that’s embedded in these standard states that (unless otherwise specified) nearly 16% of the traces on a surface can yield results that are outside the usual tolerance. If you make approximately 100 measurements on a surface, e.g. a piece of metal, you must treat the surface as “good” if 16% of the measurements are outside the usual tolerance limits. While you may get lots of bad readings, the part must still be considered as good.
So now, why is it 16% and not 17%? The former comes from statistics. For a set of results with normal distribution, the mean value, plus one standard deviation will typically include 84% of the observations. This leaves 16% beyond the 1-sigma limit.
What Should You be Using?
A majority of designers out there want to control all of the available surface. That’s why they are mostly inclined to plan in terms of the “max” rule. There is a problem. Many surfaces have defects or flaws that might not be part of the actual texture produced by its initial manufacturing process. Yes, these defects and flaws need to be controlled but it is not necessary to control them by only surface texture.


