Top Tips For Inspecting CMM Touch Probe Accuracy

CMM Touch Probe accuracy

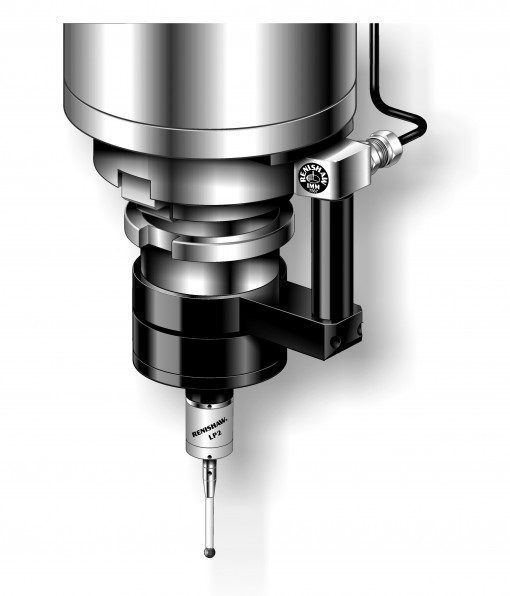
There’s always a way to know if the tool you’re using is doing the right job. Take an example of the screwdriver. If the screws are held firmly and can be screwed on and off successfully, then you know that the tool is working perfectly. But how do we know about CMM touch probe accuracy? How will you know if this high tech tool is functioning well and efficiently? A CMM probe is a complex device you place on the business end of your CMM. This device has lots of internal components that cannot be seen and are very delicate and susceptible to damage. These components can also easily go out of adjustment. In order to have a clear understanding of this, we’ll use the screwdriver analogy and think of the CMM probe as a screwdriver.

Identify Your Probe Measurement Range

Much like the screwdriver, the CMM probe is expected to give the desired results depending on the specifications of the product, a baseline.  A new screwdriver is firm and has a balanced built and a stable grip and it comes with the correct specifications and is fully certified against any flaws. As with the screwdriver, a new CMM and its probe create a measurement system that is also firm and balanced and comes with a calibration certificate presented and certified by the manufacturer as a way to show the accuracy and repeatability of the CMM probe. This certificate is your baseline. An easy set of numbers help you know the range in which to expect your measurements when measuring the specific size of an artifact, like say a ring gage or qualification sphere.

Inspection and Setting in Automatic Mode

For example, let us say your CMM is calibrated to a specified spec. This means that you’ll only have one number intended for repeatability. For illustration, assume that number is 0.005 mm, or 5 microns. This means the location measurement expected when you measure a certified sphere should be within 0.004 mm repeatability. An easy inspection on any CMM is taking a closer look into your probing setup. Make sure your probe setup meets all the requirements as you would do any other test or inspection project. Once you’re done, if your CMM is well prepared, you can then create an inspection routine in Automatic mode. This will enable you to measure the same sphere with points exceeding a little over 25, and rows with the ISO-CERT-SMALLSAME AOBO (straight down) probe angle.

A Quick Wipe Down

Start your analysis with the qualification sphere and make sure the specifications of diameter in your CMM software match with the certified diameter of the sphere. After that, use a clean piece of cloth that is free of fur or hair and some denatured alcohol and wipe it down carefully. Make sure to double-check the stylus. Ensure that it is firm and tight, and also check if it matches with the diameter and length you specified in your CMM software. These tips are the best and most inexpensive ways to inspect CMM touch probe accuracy and repeatability matters. Only thing remaining now is for you to re-run the sphere program to make sure the problem you were facing has been resolved.

by George Chitos

Leave a Reply

Your email address will not be published. Required fields are marked *