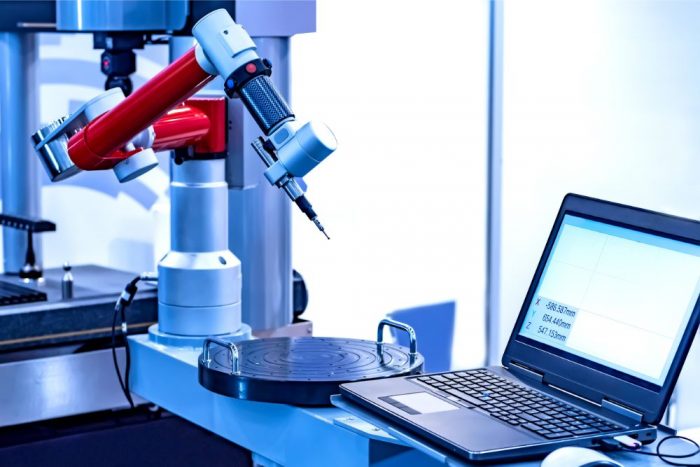
When you are dealing with sensor-based mechanical measurements, there are three important Rs that you should be aware of. These are Resolution, Response, and Repeatability. Understanding how these apply to your sensor-based mechanical measurements will ensure consistent and accurate results from instruments designed to take sensor-based mechanical measurements.
Repeatability
This
refers to the measure of variability in the results of a sensor-based measuring
system. Repeatability applies for a number of trials of an identical object in
an unchanging environment. Typically, quality control engineers will run about
three to five trials in order to establish repeatability. In a machining
process, this parameter is usually established by taking the average of the
variations in outputs across the various trials that have been done. It is
often expressed as a percentage of total output although some production
processes express repeatability as an absolute term.
One
thing to note when working with this parameter is that the tests must be done
exactly the same way for it to be effective.
Resolution
This
is the second R and it measures the least variation in the input to a
sensor-based measuring system to produce a measurable change. This parameter is
affected by, among other things, the signal-to-noise ratio of the analog
output. This noise often masks changes in the system’s output and the machinist
should be aware of this variable. When expressing resolution, many quality
control systems express it as a percentage of the total output but some express
it in absolute terms.
Response
This
parameter looks at the sensor-based measuring system’s operation while under
rapidly changing conditions. This parameter is not just a sensor specification
but is a measuring system parameter. Response is characterized in several ways
such as bode plots and phase lags. The purpose of this parameter is to look at
how well a measuring system can hold up to changing inputs before the readings
become unstable.
It is important to note that all these three parameters are interconnected and affect each other. For example, repeatability can be affected if the resolution is inadequate and so on. Machine operators must always be aware of system-level interactions that affect the overall accuracy of these measurement units. The other thing to remember is that machining environments rarely offer the constant environment that these sensor specifications are designed for. There will likely be variations in temperature, humidity and much more. Being aware of all these factors allows a machine operator to correctly calculate and translate these readings. At Willrich Precision Instruments, we do more than just sell high-quality instruments. Over the last four decades that we have been in operation, we have built partnerships with our partners that are mutually beneficial. Our clients can count on us for that personal touch that our physical presence brings. That notwithstanding, we also have an online presence for speed and convenience. By being both online and having a ‘brick and mortar’ presence means that our clients can always get personalized service if they wish. They can also enjoy the speed and convenience of shopping online from our store.


