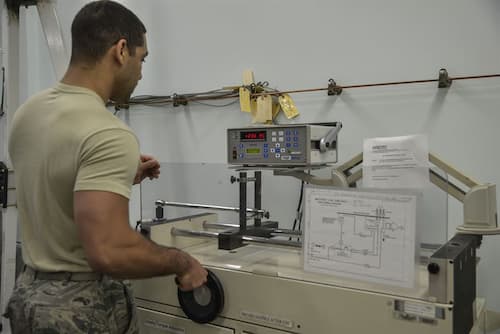
Air gaging is one of the common ways of
measuring all manner of shapes and items in a machining environment. Being air-based,
it provides a quick, clean, and easy way of measuring dimensions. It is very
effective in gaging irregular shapes and the fact that it is non-contact makes
air gages durable.
How
Air Gaging Works
Air gaging works by measuring the air backfill when a jet of air hits the surface of the object being measured. Air gages generally work on the principle of streaming a jet of air from nozzles into the surface that is being measured. When air hits the surface and bounces back, the gage is able to give the operator various readings of the surface being measured. Air gages come in all manner of sizes and types but all work on the same principle. Popular as this type of gaging is, it has some drawbacks which an operator has to be aware of when using it to measure surface dimensions.
Surface
Dimensions
The accuracy of air gaging can be affected by the surface of the object being measured. This is based on the principle that the measurement points of an air gage are really the sum total of the surface peaks and valleys. The magnitude of these can give different readings if you took the same measurement with a contact type gage.
Air
Backfill
This problem arises from the fact that
measurements are taken based on the back stream of air from the jets after they
hit the surface being measured. This means that if the process is hurried,
there is always a risk that inaccurate measurements will be taken. This sort of
inaccuracy is far more likely to happen in situations where rapid measurements
are being taken such as in an industrial process.
There are several ways to counter this and
one of the common ones is to ensure that not all air is expended from the
airways when moving from one measurement to another. This way, the backfill
takes a shorter time and measurements taken are more accurate. The other cause
of inaccuracy caused by air backfill could be that the air gage is using very
long air hoses which take time to fill up. In such a case, this can easily be
fixed by reducing the distance between the air gage and the part being
measured.
Damage
to Gage
Air gages generally suffer little surface
wear because they are a non-contact type of gage. Even if this is true, there
is still some level of contact between the gage and the part, especially if the
gage is continually used over the years. This contact can damage the nozzles of
the jet and this can affect the accuracy of the tool. One of the best ways of
fixing this is to re-orient the tooling periodically in order to move the worn-out
parts around.
While air gages are remarkably versatile
and easy to use, they also have various limitations which can affect their
accuracy. Being aware of these limitations is a great first step toward getting
more out of your air gage.


