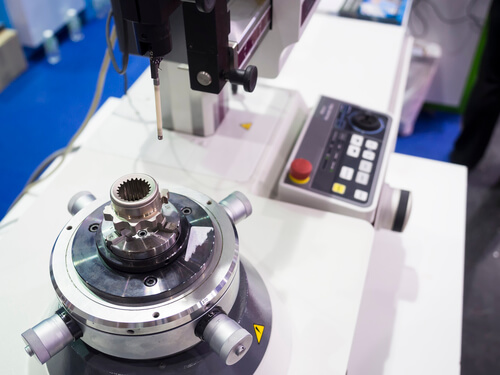
There is a thin line between calculus and the calibration of roundness measuring system – not so many people understand them. Even the few ones who do end up making mistakes most of the time. Take the word ‘calibrate’ for example. Most precision experts use it all the time in the world of roundness. The word means to determine what one has as compared to a given proper value. The right word to use instead of calibrate is to ‘adjust’ or ‘correct’. So how is calibrating a roundness system done?
Understand How Your Measuring Tools Work
The roundness or spherical measuring sensor is made up of two main parts. There is the electronic part, designed to sense motion. This part is sometimes referred to as the ‘probe’. Then there is the shaft otherwise referred to as the ‘stylus’. These two parts work with the spindle so as to make a roundness measurement.
Understand Everything That Comes With The Roundness Gage
A typical roundness system comes with a few extra tools designed to help with adjustment or calibration. Understand how the extra tools work. They include:
- A precision hemisphere/sphere
- An optical flat complete with gage blocks
- A dynamic/flick calibration standard
The Precision Hemisphere/Sphere
Its round shape is designed to test the spindle. It features a ball which is ‘zero reference’ by default. The ball is considered perfect, compared to the measuring instrument. What most people do not know is that there is still some error in the ball. ‘Certificate of calibration’ as you will see as you measure is an actual error in the ball. The calibration lab arrives at the balls certified value using extremely accurate methods. It involves the ‘reversal’ technique, which is yet another complex feature under calibrating a roundness system.
Calibrating With The Ball
This is ‘the mother of all errors’. It is impossible to calibrate with the ball. People use the certified value of the hemisphere/sphere, a practice that is dangerous. Note that in roundness systems, the word ‘calibrate’ means ‘to adjust’ as already explained. Calibrating with the ball actually leads to innacurate measurements full of errors. It reduces microns all the time.
Using a precision hemisphere/sphere to adjust a roundness measuring system is more or less the same as using an optical flat so as to set the gain on an electronic indicator. You won’t get enough deflection to set the gain. That is because hemispheres and spheres are ‘zero references’. They are not adjusting tools.
Verifying The Probe Game
The ‘gain’ factor is one that must be set and controlled when it comes to any roundness measuring system. For example, there will be lower sensitivity if a long stylus shaft is used. The sensitivity will be represented by a ‘gain’ value inside the measuring instrument. The value must then be set through a process that the system identifies as ‘calibration’. To verify and adjust the probe gain, you have to exercise more of the probe’s motion. You can handle this through the Flick Standard, also referred to as the Dynamic Standard. Gage blocks can also do the same thing.


