If you need faster precision measuring or you are looking to speed up the process you already use. There are ways you can do this. Some of these include:
- Air Gages
- Bore gages
- Calipers
- Calibration Equipment
- CMMs Coordinate Measuring
- CMM Sensors, Probes & Styli
- Computed Tomography – CT Scanners
- Concentricity Gages
- Contour Measurement
- CUSTOM GAGES & FIXTURING
- CYLINDRICAL GO / NO GO / MASTERS
- Data Collection & SPC
- Depth Gages
- Fixtures & Part Holding CMM, Vision, Optical
- Force & Torque Gages
- Gage Blocks
- Gear & Spine Measurement
- GRANITE SURFACE PLATES, SQUARES & PARRALLELS
- HARDNESS TESTERS
- Height Gages
- HEX, HEXALOBE GAGES & SQUARE GAGES
- ID / OD GAGES & SNAP GAGES
- Indicators & Comparator Stands
- Laser Micrometers
- Layout and Shopfloor
- MICROMETERS
- MICROSCOPES & BORESCOPES
- Optical Comparators, Overlay Charts and Readouts
- Robotics and Automation
- ROUNDNESS & FORM
- SHAFT MEASUREMENT
- Structured Light 3D Analysis
- Surface Roughness Testers
- Thread Gages
- Video Measuring Machines
Blog
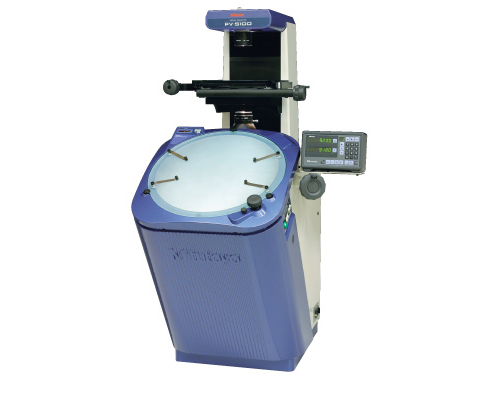
Product Spotlight: Mitutoyo Profile Projector PV-5110
Profile projectors are a type of optical instrument that is often utilized to measure small parts in a production line or a machine shop. Common users include quality control inspection teams. Also known as optical comparators, this type of projector is also used in various industries, including research and development, instrumentation, electronics, watchmaking, aerospace industry, aviation industry, etc. So, how do they work? As the product’s name suggests, the projector works by magnifying the profile of a specimen that’s being measured. The projector then displays the image on the built-in projection screen.
If you are looking to get a measuring instrument that enhances the efficiency of comparing and measuring contour models, threads, cams, gears, and other complex shape stampings, you can never go wrong with using profile projectors. In this product spotlight, you will learn more about the Mitutoyo Profile Projector PV-5110. Let’s find out more in this post!
Top Tips To Choosing The Most Effective Workholding Solution
To ensure you capture accurate data and calculations, it is essential that the workholding solution you use is up to the job. Some inferior or cheaper workholding equipment may not be able to withstand the pressure put on them during manufacturing at high speeds. There are many different solutions available, including a bespoke or customized workholder.
Can 3D Scanning Tech Be Used For Roller Coaster Accident Prevention And Maintenance?
Most people have experienced the thrill of a fairground ride or roller coaster. The fear and adrenaline are something that is hard to replicate in any other way. So, when we consider the mechanical and engineering design of the ride, how can we be sure it is as safe as it can possibly be? In the past, the individual components and design has been soundly tested to ensure that the ride is structurally sound, and many tests and simulations are invented and applied to try to account for any eventuality. In addition, they are routinely tested every single day before use to ensure there is no mechanical fault or wear. So, how can 3D scanning help?
Can Artificial Intelligence Enhance Machine Vision System Capabilities?
We have been using robotic energy and services for years for a variety of manufacturing practices However, as artificial intelligence continues to improve, we are starting to tap into its capabilities to use it in a more productive way. The benefit of learning-based image analysis is a greater inspection capability and machine vision with less errors or flaws than human judgement. Smoother and more accurate operations lead to an increase in productivity and more profit.
Product Spotlight: Willrich Precision’s Contract Inspection Services
At Willrich Precision, we are a trusted provider of contract inspection services for CMM equipment. Our expertise covers the certification and inspection of production fixtures, gaging, and tooling. You can rest assured that we also possess a wealth of standards at our disposal. Our team is capable of measuring parts and fixtures of all resolutions, accuracies, and complexities. If you are looking for an expert that is well-versed on facilitating capability studies, Willrich is the answer! Let’s find out more about our company and our contraction inspection services!
Get A Grip On Hand-Held Measuring Instrument Errors
The main function of a force gage is quite simply to measure any force in a push-pull test. These tests are generally carried out by the engineering field, laboratories or the design field for specific instruments. There are digital and mechanical force gages available and although either hand-held measuring instrument are designed to give an accurate reading, there are times when their readings may show minor errors.
What You Need To Know About Starrett’s New Digital Force Testers
L.S. Starrett Co. recently introduced a new line of motorized digital test frames designed for a great array of force-testing, in-situ manufacturing, high-volume, and basic applications. These applications included friction, shear, flexural cyclic, compression, and tension. The latest series of products is called Starrett FMM digital force testers. They are also part of Starrett’s brand new L1 line of computer-based, entry-level, force measurement solutions. These testers are optimized for quality control testing and production. L1 systems feature an innovative architecture and are versatile enough to provide reliable and repeatable operation. Let’s find out more about Starrett’s new digital force testers:
Learn The Basics Of Toolmakers Microscopes
What are toolmakers microscopes? For starters, they are multi-functional devices that can be found in a wide range of manufacturing facilities involved in the manufacturing of tools, electronics, and machines. They are also easily identifiable by their robust base and being capable of facilitating a great array of measurement and observation procedures. If you are new to toolmakers microscopes, read on to find out more about the basics of this stellar equipment!
An Introduction To FARO’s CAM2 2018 3D Measurement Software Platform
FARO is a full-service, portable coordinate measuring solution provider. They are an advocate of high-accuracy. The company has announced the recent release of their CAM2 2018 software platform. The platform is specifically designed to help users realize the highest level and value of performance with all FARO metrology products. In addition, that realization spreads across metal-fabrication, machine tools, aerospace, and automotive industries. Let’s find out more about FARO and its new 3D measurement software platform.
How To Minimize Vibration Tendencies In Machining Procedures
Today, a great array of internal precision machining operations is now facilitated via diamond or hard-metal tipped cutting tools. In addition, tool holders are available in various forms to suit the specific machining requirements. Now, factors such as the service lifespan of the cutting tool, the dimensional accuracy of the workpiece, and surface quality are affected by the material properties of the toolholder. If you do not get them right and need to facilitate a deep-hole machining procedure, you may encounter excessive vibration issues in the tool shaft. This can happen if there is a high degree of overhang; you will get that undesirable chattering. Let’s find out more about vibrations and how you can minimize them.
Product Spotlight: Starrett croblox® Reflecting Cubes
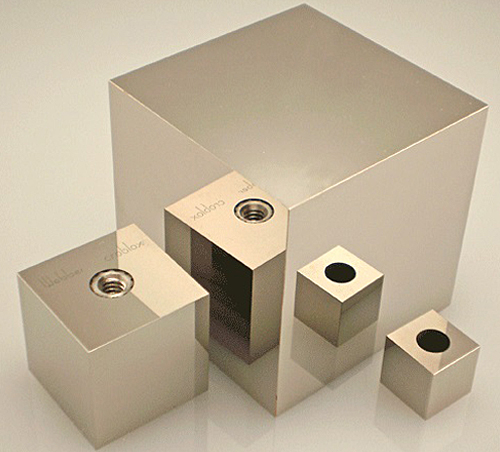
What are optical alignment cubes used for? They are commonly utilized to qualify and monitor systems where critical optical alignment is an essential. At Willrich Precision, we offer custom and standard sized optical alignment cubes with precision angles. The great thing about the cubes we carry is their polished surfaces and durable protective aluminum mirror coatings. Upon our clients’ request, we can even bond the base of the cubes to custom mounts. Alternatively, you can get them outfitted with threaded bushings. If you are looking for reliable optical alignment cubes, you should consider Starrett croblox® Reflecting Cubes. Let’s find out more about this useful product in this spotlight!
The Do’s And Don’ts Of Dial Indicator Usage
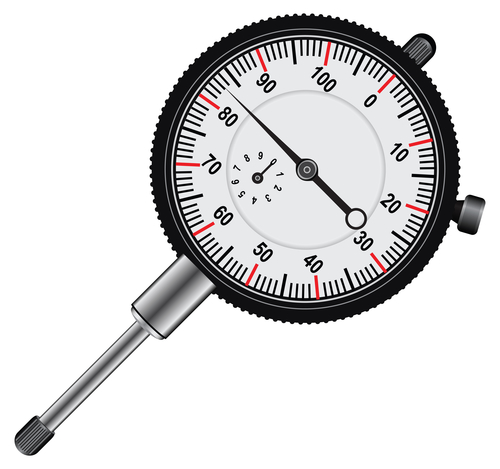
One of the most popular reasons for using a dial indicator is ease of use. Sometimes it is not necessary to take very precise measurements, but you may still need to know that the measurement of something is within the parameters you expect. This is where a dial indicator excels. If you do not need use extensive or very accurate interpreting skills, then the dial indicator is the perfect tool for you and as it is very cheap to acquire, it is cost-effective too.
Product Spotlight: Mitutoyo MF-C Manual Measuring Microscopes
Laboratories and workshops that are involved in research and development projects, inspection processes, and quality control procedures require precision measuring microscopes. Oftentimes, with digimatic indicators as well. This type of microscope is used to take non-contact measurements of the X-Y axis of a specimen. Alternatively, they can be used to measure planar dimensions in the microscope field.
Master The Use Of Calipers
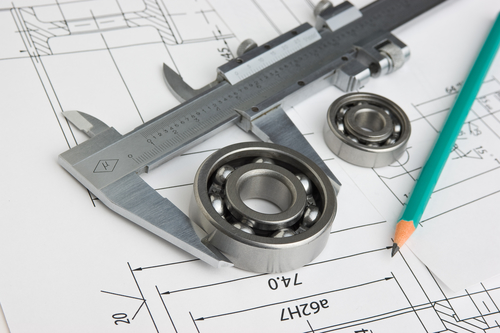
Calipers have been used for hundreds of years in one form or another. They are used to take basic measurements, and they are the one tool that many self-respecting carpenters cannot do without. They are also used by engineering firms to help with inspection. Today, there are a range of different types of calipers. These are: wireless, Vernier, electronic and digital. Calipers give a precise measurement but mastering them is an essential skill that needs to be acquired to ensure you get the most accurate measurement.


