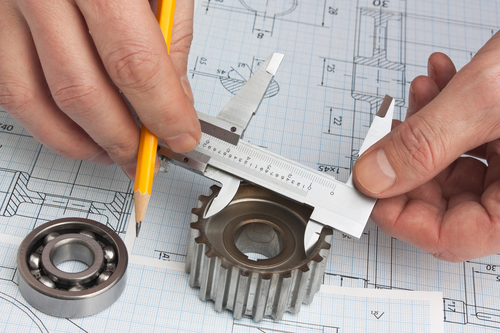
Measuring tasks should be carried out with accuracy and precision in order to achieve top-notch production related quality assurance. In addition to that, the measuring instrument should have enough flexibility to give accurate results. If a measuring device is employed for a large number of applications instead of just measuring tasks, expensive devices can be saved.
- Air Gages
- Bore gages
- Calipers
- Calibration Equipment
- CMMs Coordinate Measuring
- CMM Sensors, Probes & Styli
- Computed Tomography – CT Scanners
- Concentricity Gages
- Contour Measurement
- CUSTOM GAGES & FIXTURING
- CYLINDRICAL GO / NO GO / MASTERS
- Data Collection & SPC
- Depth Gages
- Fixtures & Part Holding CMM, Vision, Optical
- Force & Torque Gages
- Gage Blocks
- Gear & Spine Measurement
- GRANITE SURFACE PLATES, SQUARES & PARRALLELS
- HARDNESS TESTERS
- Height Gages
- HEX, HEXALOBE GAGES & SQUARE GAGES
- ID / OD GAGES & SNAP GAGES
- Indicators & Comparator Stands
- Laser Micrometers
- Layout and Shopfloor
- MICROMETERS
- MICROSCOPES & BORESCOPES
- Optical Comparators, Overlay Charts and Readouts
- Robotics and Automation
- ROUNDNESS & FORM
- SHAFT MEASUREMENT
- Structured Light 3D Analysis
- Surface Roughness Testers
- Thread Gages
- Video Measuring Machines
Blog
Understanding The Evolution Of Tolerances In The Aerospace And Automotive Industries
Times have changed. The same goes for manufactured parts produced by the aerospace and automotive industries. Their complexity grows each year and that is why tolerances that must meet metrology and quality control standards are now increasingly optimized and sophisticated. What’s more, a growing number of clients are requesting their suppliers to ensure their own compliance control aka GD&T is up to required standards. Compliance control was previously a mere input control sample designed to assess a lot’s compliance.
Purchasing The Right Coordinate Measuring Machine For Your Needs
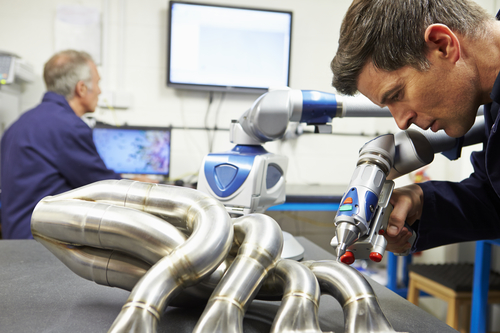
A CMM or coordinate measuring machine plays a very important role not just in the world of quality control procedures but also when it comes to parts inspection. Since quality control and inspection are two of the determining factors as to whether a product will meet customer requirements or not, tools like the CMM will be very much essential in the process. If you have finally decided to buy a CMM to help you with then here are tips on how you can make sure you will be able to buy one that suits your needs.
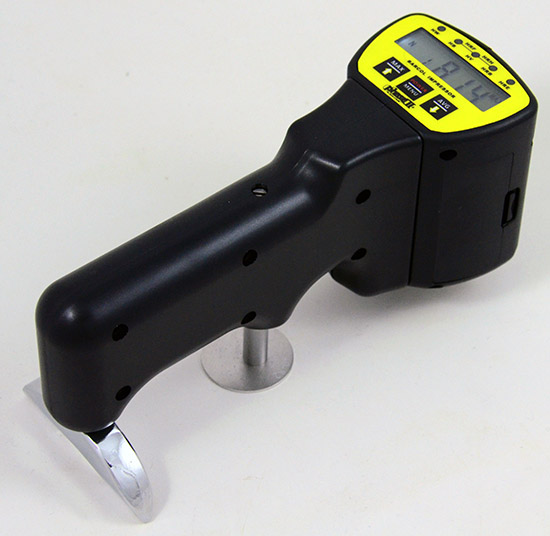
Product Spotlight: Phase II PHT-5100 Digital Barcol Impressor Hardness Tester
The barcol impressor hardness test is applied to measure the hardness of soft materials like duro plastics, hard thermo plastics, aluminum, glass-reinforced plastics, semi finished, and finished products. The tests are characterized by the indentation hardness of materials. The barcol hardness test is done to determine how much a plastic or resin has cured. Manufacturing industries prefer this method of testing in order to ensure that they get the right quality of composite materials for their products.
Learn How A Complex Plastic Part Is Reverse Engineered
Today’s manufacturing, quality and design engineers often need just two gears to get their tasks done; forward and reverse. Moving forward is the best strategy, but it only looks good on paper. Things can go astray at any point.
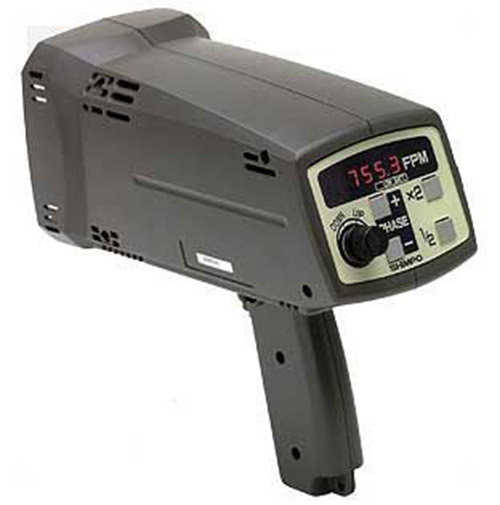
Product Spotlight: Shimpo DT-725 Stroboscope
Stroboscopes are used to measure or inspect the rotational speed of spinning objects. They are mostly applied as a measuring instrument for determining cyclic speed of moving machinery. They are able to give a glimpse of moving targets to allow technicians to identify damage to belts, pulleys, shafts and gears without having to stop the machinery. This is very important for manufacturing industries since they are able to identify malfunctions before the problem becomes severe. A wide range of equipment like fans, conveyor belts, motors, engines, grinders, saw blades and centrifuges heavily rely on stroboscopes to measure the spinning speed.
Top Tips To Increasing Productivity On Your Shop-floor
When you own a business, one of the things that you will be concerned about is how you can increase your profits in time. Of course, you will definitely want to make sure that your products are as competitive as possible too. Well, you can achieve both these by simply boosting productivity most especially on your shop-floor. Investing in the right set of products will be just one of the things that will drive improvement when it comes to this vital concern. All the other things you can do are listed below.
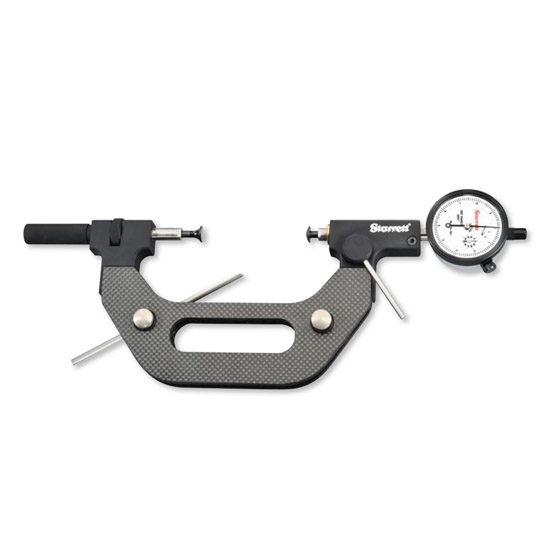
Product Spotlight: Starrett 5003 Carbon Fiber Snap Gages
Today’s snap gages are as one would expect, advanced. They come complete with accuracy-focused and sophisticated features. Carbon snap gages for instance use carbon fiber for the handles. This makes it easy for one to handle the gage. It also improves precision as it is lighter than other snap gages.
Unlike other snap gages, carbon fiber snap gages are adjustable to a full 2”³ (50mm) of range. This perk alone ensures that one can measure thicker components with precision. They are also easy to use, so there is no learning curve at all. If you are searching for a carbon fiber snap gage, consider Starrett 5003 Carbon Fiber Snap Gages. Read on to find out more about the snap gage.
Deciding Which Degree Of Automation You Prefer On Your Manufacturing Floor
To automate a process, technical feasibility is a necessary prerequisite. This is the most important factor about automation to consider when automation is taken into account. Another precondition is the cost for development and deployment of both the software and hardware for automation. Labor cost and supply-demand dynamics also play an important role. The most important component in successful deployment over a period of time is the effort in adapting technology with human capital. With transformation of each individual workflow, every job will be changed, eventually. This requires change in skills as well as mind-sets.
When And How To Perform QC Inspection On Your Production Floor
Production managers always know how important it is to make sure that their production processes are efficient. Some managers can measure respective parts directly on the shop-floor while others will send the parts to a lab where the CMM will do its part to thoroughly perform QC inspection. If you choose to do the inspection on your production floor as other production managers would then it pays to know how and when you can perform such.
Work With Digital Force Gages Like A Pro
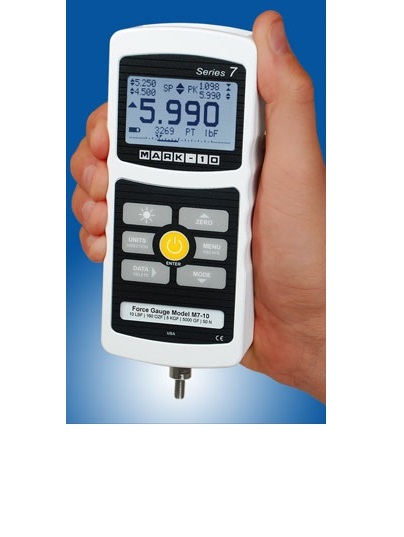
A force gage is a comprehensive solution for a component of a larger test system or specific tests. It can be easily integrated into a motorized or manual test stand, or it can even be handheld. It is straightforward for hand operated tests, and at the same time complicated enough to be integrated with motorized test stands, data collection software, and PLCs. They are commonly used in production, quality control, and research environments.
Why Machine Alignment Is Beneficial To Building Product Manufacturers
Product manufacturers and companies that produce building materials such as housewrap, fiberglass, flooring, fiberglass, wallboard, shingles, cores, and tubes can derive great benefits from shaft alignment of their machine equipment. There are many advantages associated with precision alignment of process lines and machine components.
What’s The Difference Between Precision And Accuracy
When taking data measurements, precision and accuracy are two most important factors to consider. Both of them reflect how close we are to getting an actual value. However, there is a slight difference between the two. Precision gives the reproducibility of the measurements, even if they are nowhere near to the accepted value. Accuracy gives a number close to that of accepted or known value. It’s like hitting a bullseye. Measurements which are both accurate and precise are very near to actual values, and can be repeated.
Universal Metrology Automation Is Now Possible With Metrology Integrators
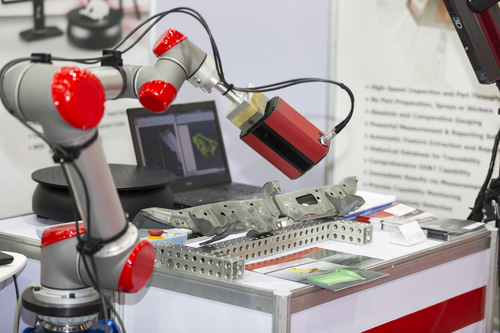
Universal metrology automation solutions can quickly authenticate dimensional conformance on anything from sub-millimeter solder joints to precision-machined components, molded plastics and large aerospace castings. Coupled with a metrology integrator, it can offer countless system configurations by using streamline automation software to link dissimilar software and hardware with a general interface, helping to make intelligent decisions.
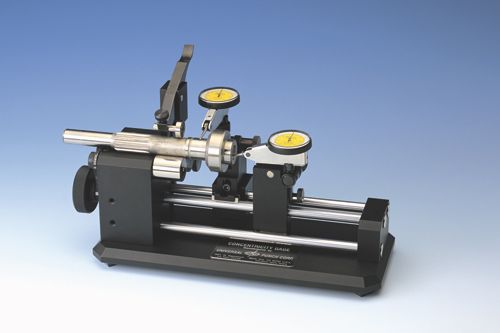
Product Spotlight: Universal Punch Series K1 Concentricity Gages
For a long time, concentricity gages have been utilized for inspection purposes. Oftentimes, they are used to inspect flat, internal, and external surfaces of rotating parts. This type of equipment is usually centrelessly mounted on three rollers, in type RPG micro, RPG mini, RPG AL, and RPG. Concentricity gages feature a robust design, with pre-loaded roller bearings designed to increase the longevity of the gage. Today, these gages are available in a variety of designs and sizes to fit diameters up to 240 mm. If you are looking to get a concentricity gage, you should consider Universal Punch Series K1 Concentricity Gages. Let’s find out more about this fantastic product!


